Thursday, December 18, 2014

Banana, Goji Berry, Peanut Butter, White Mulberries Oatmeal


Banana, Goji Berry, Peanut Butter, White Mulberries Oatmeal


Servings: 1 bowl of oatmeal

Total Time: 5 minutes


Ingredients:
  • 1 small banana (sliced)
  • 1 teaspoon goji berries (cooked)
  • 1 tablespoon creamy peanut butter
  • 1 teaspoon white mulberries
  • 4 tablespoons rolled oats
  • 1 cup almond milk


Directions:
  1. Place rolled oats with water (that sits just above the oats) in a microwavable bowl and microwave on high for 1-2 minutes.
  2. Add almond milk.
  3. Cut up a banana in half inch slices and place around the edges of the bowl.
  4. Add goji berries and and a dollop of peanut butter in the middle.
  5. Sprinkle a handful of white mulberries over the peanut butter.

Enjoy!


Fun Fact:
This is my first time trying dried white mulberries before! I've never even heard of these prior. They resemble tiny white honey combs, but actually taste like chewy gummy bears. They're full of antioxidants and protein and ultimately makes a great snack and easy to throw into your morning oatmeal!

Hershey's Chocolate and Marshmallow Cupcakes


Hershey's Chocolate and Marshmallow Cupcakes


Ingredients:
  • 3/4 cup water
  • 1/3 cup vegetable oil
  • 2 eggs
  • 12 paper baking cups
  • 1 box of Hershey's Chocolate Premium Cupcake Mix
  • 1 bag of mini marshmallows
  • 1 box of grounded graham crackers

Directions:
  1. Preheat oven to 350F. 
  2. Line cupcake baking tray with paper baking cups. 
  3. In a medium size mixing bowl, mix in the cupcake mix, eggs, and oil.
  4. Place the bottom of the cups with graham crackers, Make sure they are packed in tightly! 
  5. Fill the cups 1/3 full, making sure to cover the bottom completely.
  6. Fill in the middle with chocolate filling and add marshmallows! If you want it extra sweet and gooey, feel free to add more!
  7. Fill the cups with the rest of your batter. 
  8. Bake for 24-29 minutes.

Branded cupcake mixes tend to have stronger flavors. These cupcakes had a heavier coffee/cocoa taste. We did some mix and match, with some cupcakes having only marshmallows and others only chocolate. The marshmallows makes the chocolate filling thicker and a lot sweeter! Definitely add more marshmallows if the recipient has a sweet tooth. The graham cracker crust is partly inspired by the s'mores cupcakes from Kara's (aka my favorite cupcake shop). :)

Thursday, November 6, 2014

Ghiradelli's Caramel Turtle Brownies with Walnuts


Ghiradelli's Caramel Turtle Brownies with Walnuts

Lately, I've been craving brownies. Lots of them, as you can see from my recent posts. Their easy to make and require very little ingredients. All you need is some brownie mix, water, oil, and an egg! 


Ingredients:
  • Ghiradelli's Caramel Turtle Brownies with Walnuts Mix
  • 1/4 cup water
  • 1/3 cup vegetable oil
  • 1 egg


Directions:
  1. Preheat oven to 325 degrees.
  2. Layer a 10x15 glass baking pan with aluminum foil.
  3. With a mixing bowl, combine the egg, oil, and water and mix completely.
  4. Add the brownie mix and mix well.
  5. Pour brownie batter in in the pan.
  6. Cut the corner of the caramel pouch and squeeze it over the brownie batter.
  7. Bake for 40 minutes.
  8. Once done, remove from oven and cool completely. After it's cooled down, use a plastic knife or a rubber spatula to cut the brownies.

Done!


These brownies are great for those late-night munchies and you can carry them with you anywhere without worrying about refrigeration! I love how Ghiradelli's brownies are super moist and rich! One of my favorite brownies I've made so far. Highly recommended. You can find this mix at your local supermarket! 

Friday, October 31, 2014

New York Style Cheesecake


New York Style Cheesecake 
from AllRecipes.com 

I used Chantal's New York Cheesecake from All Recipes. I changed up the recipe, but I advise sticking to the original!


Prep Time: 30 minutes
Cooking Time: 1 hour
Ready In: 6-7 hours


Ingredients:
  • Graham Cracker crumbs 
  • 2 tablespoon melted butter
  • 8 ounce cream cheese 
  • 1/4 cup white sugar
  • 3/4 cup milk
  • 4 eggs
  • 1/2 cup sour cream
  • 1 teaspoon vanilla extract
  • 1/4 cup all purpose flour


Directions:
  1. Preheat oven to 350 degrees.
  2. In a mixing bowl, mix graham crackers and butter. Spread evenly on a greased 9 inch circular pan.
  3. In another mixing bowl, mix cream cheese, white sugar, milk, eggs, sour cream, vanilla extract, and flour. Pour on top of the previous mixture on the pan.
  4. Bake for 1 hour. 
  5. After an hour, turn off oven and leave the cake inside for 5-6 hours. Store in the refrigerator until serving.

Enjoy!


Notes:
  • There's a reason why the original recipe asks for 1.5 cup white sugar! Although it may seem excessive, too little sugar makes the resulting cheesecake bland and tasteless.
  • Make sure you have the correct cream cheese to sour cream ratio (8 oz:1 cup)! Too much cream cheese in this ratio will give a more chewy, pudding-like texture. The sour cream gives a more soft and delicate texture.
  • Leaving the cheesecake inside the oven after baking for 5-6 hours to prevent it from cracking.
  • Overcooking causes the cheesecake to crack.
  • Overbeating causes air bubbles and a less creamy texture.
  • Remember to grease the side of the pan to prevent the cake from cracking.
  • Room temperature ingredients prevents lumpy batter.

Sunday, October 19, 2014

Cookie Brownie Bars with Sweet Chocolate Chips

The cookie brownie bars

Betty Crocker's Supreme Bar Mix: Cookie Brownie

Instructions on how to make it.

The final product! 

Cookie Brownie Bars with Sweet Chocolate Chips

Saw these on the shelf at the supermarket and had to try them. I've only heard of the brownie-cookie, where a part of the cookie is made of a brownie, but I've never seen a cookie-brownie before. I love unique and interesting foods that combine some of my favorite foods together, and this was definitely one of my favorite creations! It's as crispy as a cookie, and as chewy as a brownie. Perfect! 

Ingredients:
  • For Brownie Batter:
    • 2 tablespoon water
    • 1/2 stick (1/4 cup) butter (melted)
    • 1 egg
  • For Cookie Dough:
    • 1 tablespoon water
    • 1/2 stick (1/4 cup) butter (softened)


Directions:
  1. Preheat oven to 325F and line a 15x10 pan with foil.
  2. Using a medium mixing bowl, combine the Brownie Mix, water, butter, and egg and mix well. Pour the batter in the pan.
  3. Using another medium mixing bowl, combine the Cookie Mix, water, and butter and mix well. Pour drops of cookie dough in the pan.
  4. Bake for 45 minutes. 

Enjoy!


Tips:
  • Use a plastic knife and use short sawing motions to cut the bars if they are still hot.
  • They don't need to be refrigerated, but you should store them in a tightly sealed container.
  • They retain freshness for days!
  • A larger pan is recommended for flatter bars.

Thursday, October 9, 2014

Tomato, Beef, Mozzarella, & Ricotta Cheese Lasagna


Tomato, Beef, Mozzarella, & Ricotta Cheese Lasagna

Ah! Nothing beats a more fulfilling and hearty homemade dish than lasagna! Five layers. Showered in tomato sauce. Two kinds of cheese. And grounded beef to top it off. Yum!


Ingredients:

-1 lb box of lasagna
-1 lb ground beef
-1 purple onion
-2 jars if tomato & basil sauce
-1/2 lb mozzarella cheese
-1/2 lb ricotta cheese


Directions:

1. Use a 15x10 glass pan and line the bottom with the first layer of lasagna.
2. Add a generous layer of ricotta cheese, making sure to cover the entire bottom layer.
3. Add the next lasagna layer.
4. Add ground beef and onions.
5. Layer with lasagna.
6. Mix the ricotta and mozzarella cheese together over it.
7. Add another lasagna pasta.
8. Repeat 6 & 7.
9. Pour the rest of the tomato & basil sauce and mozzarella cheese over it. 
10. Bake for 350 degrees F for 45 minutes.


Enjoy!


Tips:
The outer top layer lasagna pasta was less cooked even after 45 minutes in the oven. The bottom layers were perfect: soft and tender and easily sliced with a fork. Next time, I'll probably soak the upper layers of pasta in water before I put it in the oven. If you try this out, let me know how it turns out! Good luck!

Sunday, September 21, 2014

Organic African Nectar Tea


Trying out a new tea and I'm loving it so far! This is Organic African Nectar tea from Mighty Leaf. It's made with African Rooibos leaves, rose petals (marigold flowers), hibiscus leaves, mallow blossoms, and spices. All ingredients are organic. This is my first time trying rooibos tea (or red tea) and it definitely has a unique flavor that I'm not accustomed to. I usually drink green tea, and will occasionally have black, white, or herbal tea. The African Nectar is unique in that it has an exotic, light, smooth, and rich flavor that's lacking in the other teas. It's an herbal tea so it doesn't have any caffeine (not meant as morning pick me up!). There's a stark contrast compared to the herbal teas I've tried before which have more of a stronger fruity taste that can become too sour for my liking (the Bigelow herbal teas). This tea is meant for a quiet night in, as it promotes calmness and is known to protect the heart and prevent stress. You can find this tea at your local drugstore or online at Amazon. You can even find it at Paris Baguette Cafe! :)

Saturday, September 6, 2014

Spinach & Chive Linguine Pasta


Topped with Parmesan Cheese. Looked a little simple, so added...

Tomatoes!

Okay, so it still looks pretty simple. But I think the tomatoes add an extra little something something! If anything, it adds color to the otherwise all-green ensemble. The reason why it's mainly pasta (and carbs) is because I'm carbo-loading for a race tomorrow!
Ingredients:
  • Spinach & chive linguine pasta 
  • Parmesan cheese
  • Pinch of salt
  • Tomatoes

Directions:
  1. Boil water in a pot and add a pinch of salt in the water.
  2. Pour in the pasta when the water is steaming.
  3. Continue to stir every minute or so.
  4. Cook until al dente, and drain the water.
  5. Add parmesan cheese and tomatoes.

Done!


FYI: I've heard you can make your own spinach pasta. One day, I will attempt to do that! :)

Friday, August 29, 2014

Fuji Apple Crab


Fuji Apple Crab

Made a crab out of one Fuji apple the other day. Originally intended to do a lobster, but decided to go with a crab since it turned out to look more like the latter. It can even pass for a spider because of its pointy legs!

I've realized that apples are pretty easy and convenient to create fun food art designs. And not to mention, they're always laying around in the kitchen! All you need is one apple. :)


Fun Facts:

  • Fuji apples are a hybrid between 2 different apples: the Red Delicious (from Iowa) and the Virginia Ralls Genet apples (from Virginia) and crossbred in Japan! 
  • They are sweeter, lighter (in color & taste), and juicier than Red Delicious apples.
  • Supposedly, they can remain fresh for a whole year without refrigeration!
  • Fuji apples are the most popular type of apple in Japan.
  • The term 'fuji' came from the the town Fujisaki, Aomori, Japan, not Mt. Fuji.

Friday, August 22, 2014

Teddy Bear Toast


Teddy Bear Toast

Saw a couple pictures floating around Pinterest and other social media outlets of a cute teddy bear toast art and decided to do my own. It's easy and quick to make, and it adds an adorable addition to your breakfast!


Total time: 5 minutes, 2 slices of 'teddy bear' bread


Ingredients:
  • Slice of toast
  • Sliced bananas
  • Milk and white chocolate chips
  • Cookie butter spread


Directions:
  1. Spread cookie butter over the toast. Make sure the spread fills the entire bread.
  2. Cut slices of bananas and put three on the slice of bread, with two as the ears and one as the nose.
  3. Use chocolate chips for the eyes and nose.

Done!


So easy, right? 

I was actually going to use creamy peanut butter but I ran out just a few days ago so I used cookie butter spread instead. It's a darker brown, but it's still a shade of brown and it works! For the chocolate chips, you can substitute raisins. They're still a relatively black color so it won't be very different. I substituted white chocolate chips for the eyes because milk chocolate chips are hard to see against the dark cookie butter.

Definitely give this a try and make it for breakfast! Guaranteed to put a smile on anyone's face! :)

Wednesday, August 20, 2014

Roses and Bows <3


A bouquet of beautiful pink roses with fuchsia tips wrapped in a lovely layered ribbon bow. <3

Saturday, August 16, 2014

Current Obsession: Kara's Cupcakes


A box of 4 cupcakes: Java, IMHRO's organic blackberry cheesecake, blackberry, and peanut butter chocolate ganache


Up Close: Java and blackberry cupcakes!


With a Meal: Gyoza, red pepper crab bisque, and a box of Kara's Cupcakes (red velvet on the left and smores on the right). <3


Lately I've been obsessing over Kara's Cupcakes! It's a cupcake shop in the Bay Area, known for their pink stores and packaging as well as their conspicuous brown pink striped vehicle (AKA Kara's Cupcakes Karavan). They have 2 locations in San Francisco and one in Burlingame and Palo Alto. In my opinion, Kara's offers one of the best cupcakes in California! Every time I go there, I'm rarely disappointed. The key to the freshest and richest cupcakes at Kara's, and at any cupcake shop, is to go to the store directly and eat it right then and there. That's when it tastes the best. If you deliver them or have them sit out on the table or in the fridge, the flavors will diminish and it will become stale. Cupcakes are delicate, and the longer you let them stay out, the more disappointed you will be.

Kara's make their cupcakes by hand every day using local and organic ingredients. Their promise is that they maintain freshness every day, delivering fresh cupcakes every minute or hour. Each regular sized cupcake is $3.25 and the mini's are $2.00 each. Flavors switch up regularly, so a flavor you see today may not be there tomorrow. Some of them have fillings in them and some of them come gluten-free! They also occasionally work in partnership with non-profit organizations to help fund-raise for a good cause. The organic blackberry cheesecake cupcake pictured in the first photo benefits the IMHRO, the International Mental Health Research Organization. Prices are higher for these though (from $3.25 to $3.75).

My favorite part of the cupcake is the cream. It's very thick (.5-1 inch thick!) and rich. I believe the cream is one of the most important aspects of a cupcake, and can break or make it. The cake itself should be moist too however. 

Here's a quick review of some of the flavors from my Yelp review:

"Carrot: Small carrot shreds in the cake.
Banana: Minor banana taste. Nothing strong.
Red Velvet: Very sweet, but I liked the cream frosting!
Smores: Unique! The cream part is made of toasted marshmallows. The cake tastes like a brownie and the bottom is made of graham crackers! Definitely a must try. 
Blackberry cheesecake (w/filling): Cheesecake cream is so yummy!
Java: The cream has a very heavy coffee taste.
Peanut butter chocolate ganache: The cream is so rich that I couldn't eat the rest of it.
Blackberry: Love this one! Super moist all around.

How to Store - If you're eating it the day of, you don't need to refrigerate them. But for the days after, you should refrigerate them because of the cream. After you remove them from the fridge, let it sit for at least 30 minutes so it can soften up. I recommend eating these the day of since refrigerated cupcakes are tougher to eat."


If you get the chance, definitely go out and try Kara's Cupcakes! :)

Friday, August 1, 2014

Avocado, Banana, Fried Egg, Buttered Toast, and Rainier Cherries


Healthy snack before dinner!


Ingredients:
  • 1 small avocado
  • 1 large banana
  • 1 slice of whole wheat grain toast with butter on both sides
  • 1 large egg
  • A handful of sweet pink and yellow rainier cherries

Directions:
  1. Apply butter on both sides of the toast.
  2. Heat up the pan and place the toast on it. Flip regularly.
  3. Remove toast.
  4. Place an egg in the pan and flip occasionally.
  5. Remove the egg from the pan and place on top of the toast.
  6. Cut avocados and bananas and place it on the plate.
  7. Add several pink and yellow rainier cherries.

Done!


I love pink and yellow cherries! Much lighter, juicier, and sweeter than black and regular cherries. 

Monday, July 21, 2014

Chocolate Covered Strawberries


Chocolate Covered Strawberries


My second time making chocolate covered strawberries! The first time I used only strawberries and chocolate chips. I grabbed a bag of white chocolate chips and heated them in the microwave for about 30 seconds. The result: burnt (literally some parts were black) and hardened chocolate. So in my second attempt, I followed the recipe instructions step-by-step, and they turned out so much better! Ahh I'm so happy! They're actually really easy and simple to make!


Ingredients:
  • Strawberries (fresh, washed and dried)
  • Chocolate Chips (semi-sweet)
  • White Chocolate Chips
  • Shortening

Directions:
  1. Wash all of your strawberries and wipe clean with a paper towel. 
  2. Put water in your double boiler and heat it on medium.
  3. Once it is simmering, put chocolate chips and 1/2 teaspoon of shortening in a heat-safe bowl and put in the double boiler.
  4. Once half way (to 3/4th) melted, quickly remove from the stove and place it on a table.
  5. Dip the strawberries in the bowl of chocolate. 
  6. Place chocolate covered strawberries on a bowl with the chocolate side face up.
  7. Put the dipped strawberries in the freezer.
  8. Repeat step 3 and 4 for white chocolate chips.
  9. Take out the strawberries from the freezer.
  10. Make swirls with the white chocolate over the strawberries.
  11. Put in the freezer like step 6
  12. Transfer to the refrigerator after 20-30 minutes.
  13. Remove from refrigerator and enjoy!

Done!

Enjoy! The white chocolate swirls definitely adds an elegant and impressive look! :)

Monday, July 14, 2014

Eggless White Chocolate Chip Cookies

Eggless White Chocolate Chip Cookies

This is the recipe for egg-free cookies! I ran out of eggs so I attempted to make some cookies without using any. I also saw a recipe for egg-free muffins, which I was about to make also, but didn't have enough time, so I will attempt to make them next time!

Eggs tend to make cookies chewier. So since these didn't have any, they were more crumbly. Nonetheless, feel free to work around the recipe to suit them to your liking!


Makes 24 small cookies.


Ingredients:
  • 1 cup + 2 tbsp all purpose flour
  • 5 tbsp almond milk
  • 1/2 tsp baking soda
  • pinch of salt
  • 1/2 cup butter
  • 1/4 cup powdered sugar
  • 1/4 cup brown sugar
  • 1/2 tsp vanilla extract
  • white chocolate chips


Directions:
  1. Preheat oven to 350 degrees Fahrenheit.
  2. Cut a piece of parchment paper and line it on the cookie sheet.
  3. Combine dry ingredients (flour, baking soda, salt, sugar) and whisk in a bowl.
  4. Add in wet ingredients (milk, vanilla extract, melted butter) and chocolate chips.
  5. Put a drop of cookie dough on the lined tray (about 1 tbsp), with 8 drops per tray.
  6. Bake for 10-12 minutes.


Done!

Friday, July 11, 2014

Banana Blueberry Peanut Butter Oatmeal


Banana Blueberry Peanut Butter Oatmeal


Ingredients:
  • 5 tbsp rolled oats
  • blueberries
  • 1 large banana
  • 1 tbsp peanut butter
  • almond milk
  • chia seeds
  • honey
  • cinnamon


Directions:
  1. Cook oats in water in the microwave for 1:20 minutes. 
  2. Pour almond milk.
  3. Slice bananas and place them in a circle on top of the oatmeal.
  4. Put blueberries in the inner circle.
  5. Place a dollop of peanut butter in the middle.
  6. Sprinkle with chia seeds, cinnamon, and honey.

Done!


Ingredients health benefits:

  • oatmeal- high fiber, low fat, high protein
  • blueberries- high antioxidants, high vitamin C
  • banana- high fiber, potassium
  • peanut butter- high protein
  • almond milk- high omega-3 fatty acids, high vitamin E
  • chia seeds- high fiber, omega fatty acids, calcium, antioxidants, protein
  • honey- high antioxidants, anti-bacterial, anti-fungal
  • cinnamon- lowers bad cholesterol and blood sugar

Wednesday, July 9, 2014

Withered Roses


These photos are what fresh pink roses look like after sitting in a vase for 2-2.5 weeks. They start browning and drying up pretty fast! Although they look completely different in the photos, the two roses -- the brown and pale pink one -- are actually from the same vase. Surprisingly, they came out very different!

Red, White, Blue American Flag Strawberry Shortcake

Red, White, Blue American Flag Strawberry Shortcake

Ingredients:
  • 16 oz (1 lb) 454 g Vanilla Cake Mix (made with Madagascar Bourbon Vanilla Flavor)
  • Strawberries
  • Blueberries
  • Cool Whip
  • 2 Large Eggs
  • 1/2 Cup Stick Melted Butter
  • 1 Cup Cold Almond Milk (regular milk is fine)

Directions:
  1. Preheat oven to 350 degrees Fahrenheit.
  2. Remove Cool Whip from freezer and place in refrigerator to thaw (the recommended time to thaw is 4 hours before using).
  3. Slice stick butter in half (=1/2 cup). Place in a bowl and microwave for 30 seconds.
  4. Combine eggs, butter, and milk in a bowl and mix with a hand mixer. 
  5. Add in the vanilla cake mix and continue to mix until the batter is no longer lumpy.
  6. Pour batter into a butter-greased 9x13 nonstick pan and tap on table to level it out and to decrease bubbles.
  7. Put pan in oven and leave for 25 minutes, or until toothpick in the center comes out clean.
  8. Once done, leave cake on the table to allow for cooling (for faster cooling, add frozen packages underneath the pan to speed up cooling).
  9. When cake is completely cooled (20-30min later), remove Cool Whip from the fridge and use a rubber spatula to spread whip cream topping on the cake. Cover it completely with a thick layer.
  10. Put blueberries on the top left corner to form a rectangle.
  11. Grab your strawberries and remove the leaves and stem. Then slice it in half and put them on the cake in rows (to resemble the red stripes in the American flag).
  12. Slice cake in pieces, making sure that each piece of cake has at least one fruit.

    Done!

Tips:
  • Choose Cool Whip over regular whip cream from a spray can.
  • Slice cake before adding fruits on top if you don't want the whip cream to get all over the fruit (looks better visually).
  • You can use different pans also, but a 9x13 rectangular pan resembles an American flag the best.

Enjoy!

Wednesday, July 2, 2014

Mickey Mouse + Balloons Toast Art


Hi guys! Sorry for the lack of cooking/baking posts recently. Been running low on inspiration lately. D:

Here's a Mickey Mouse toast art I did a couple days ago. It's Mickey created over a slice of whole wheat toast, with mochi and wafer sticks as balloons. This was inspired by my recent trip to Disneyland, where I had the opportunity to meet Mickey for the first time!

The strawberry wafer sticks were purchased from an Asian supermarket, called the Manila Oriental Market. The mochi were from Phoenix Food Boutique down in Monterey Park (when I went to SoCal). By the way, I know the mochi looks a little weird in the picture. It's been sitting in the fridge for a while before I finally had the chance to use it to create this piece, so it's not as round as it should be! I tried to use my hands to make it appear more round, but it just wouldn't budge. Haha. The rest of the ingredients were found laying around the kitchen. :)

This was my first time doing food art on toast! I've seen different types of toast art around and have always wanted to try working with a different medium. I liked how clean and simple toast art looks. All you need is a slice of bread, which you can easily find at any supermarket, and from there you can create anything you want! This was actually my second attempt creating Mickey. I didn't realize how messy bread was and how difficult it was to form a design from it by just eyeballing it without any templates! Now I know better though. :)

Maybe next time I will try to create both Mickey and Minnie together! (Which was my original idea haha :P)

Friday, June 27, 2014

Disneyland

 It's a Small World :) One of the cute and adorable rides!
 Waiting in line for a photo... it's pretty at night too!
Such a beautiful restaurant! I love the blue ceiling, it makes it look like we are actually sitting outside and having dinner outdoors. The glowing lanterns add a great touch!

Wednesday, June 25, 2014

Photos from Disneyland/LA

Couldn't have asked for a better first mini-vacation. :)


Gorgeous waves! Why is the water at Santa Monica Pier so much clearer than the ones I've seen here?

 Seagulls, seagulls, seagulls.


 I like this one because it looks like a little hut on a dock in the middle of nowhere :)


 A young girl playing in front of Sleeping Beauty's Castle. ❤
 ❤_❤
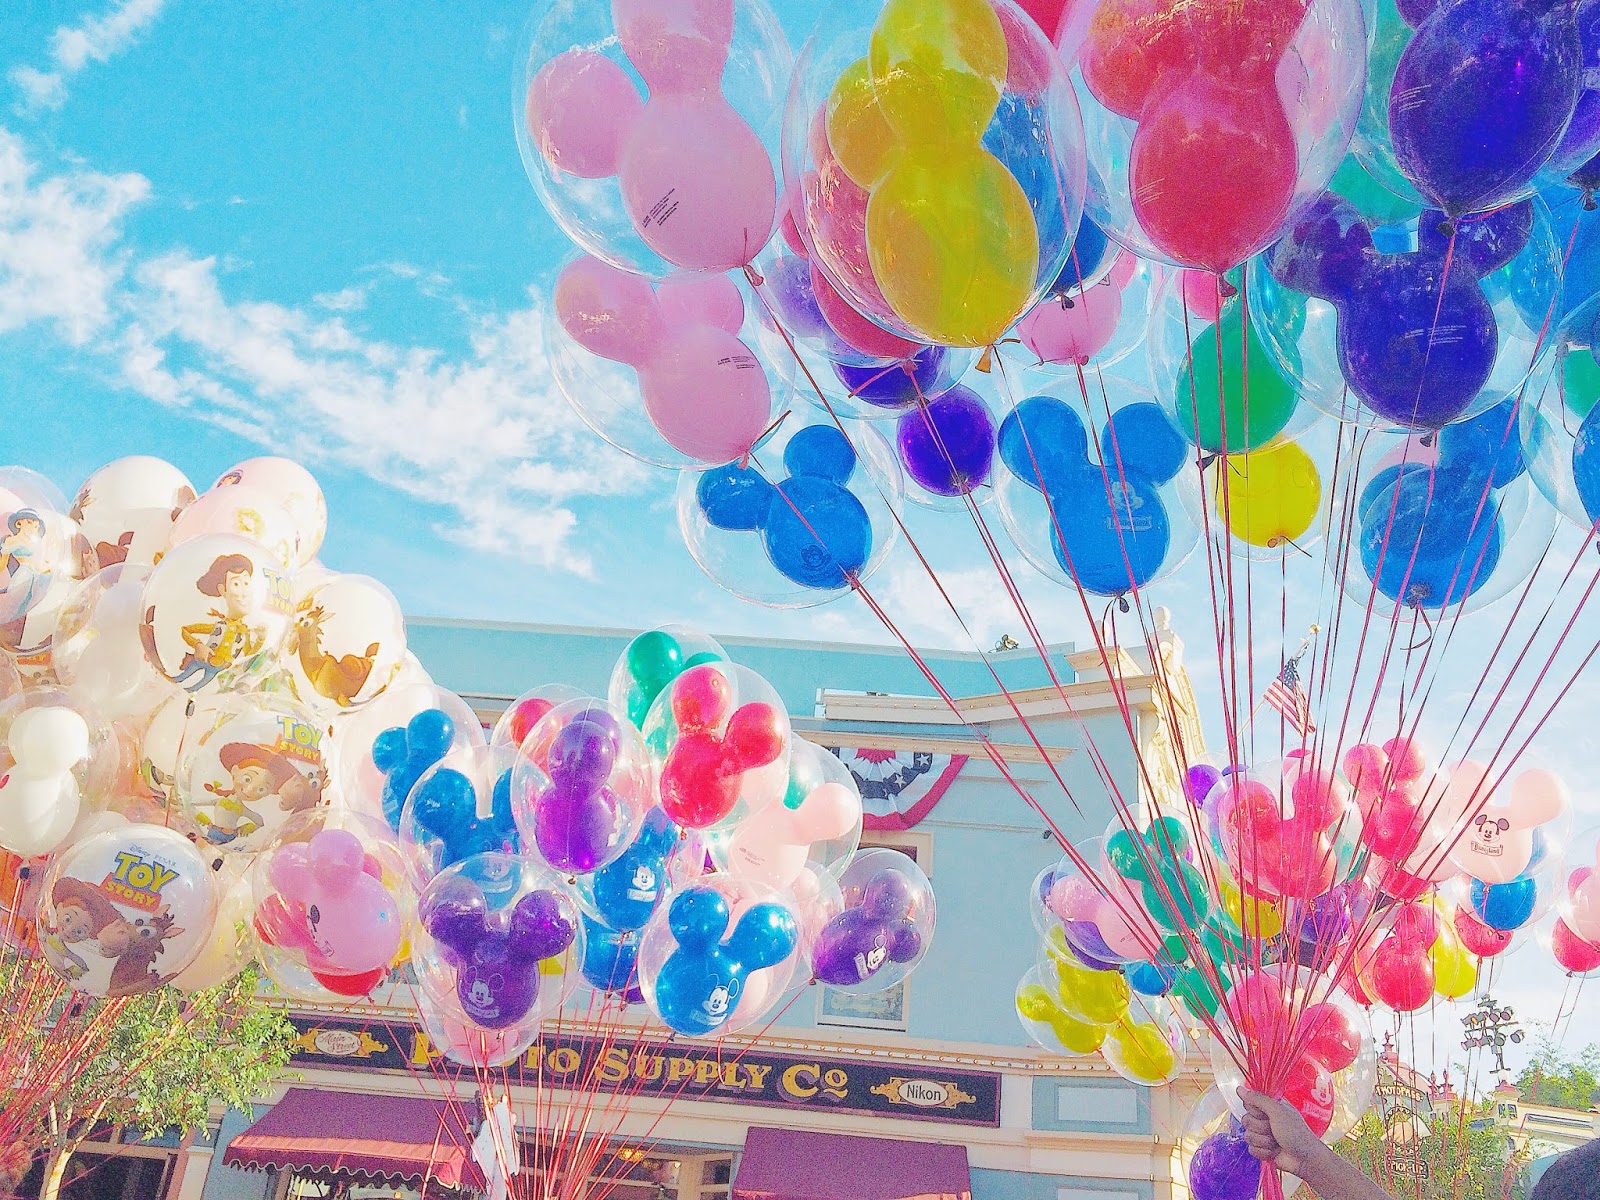
 Mickey Mouse Balloons
Chris Burden's "Urban Lights" at the LACMA. One word: BREATHTAKING.

 
♡❤♡❤♡❤♡❤♡❤♡